Made in Germany

Airtight, made simple.

The valve zone step by step — the full installation takes about 10 minutes.

1 · Remove the lower film

The film is split: first one half, then the other — the adhesive face stays clean.

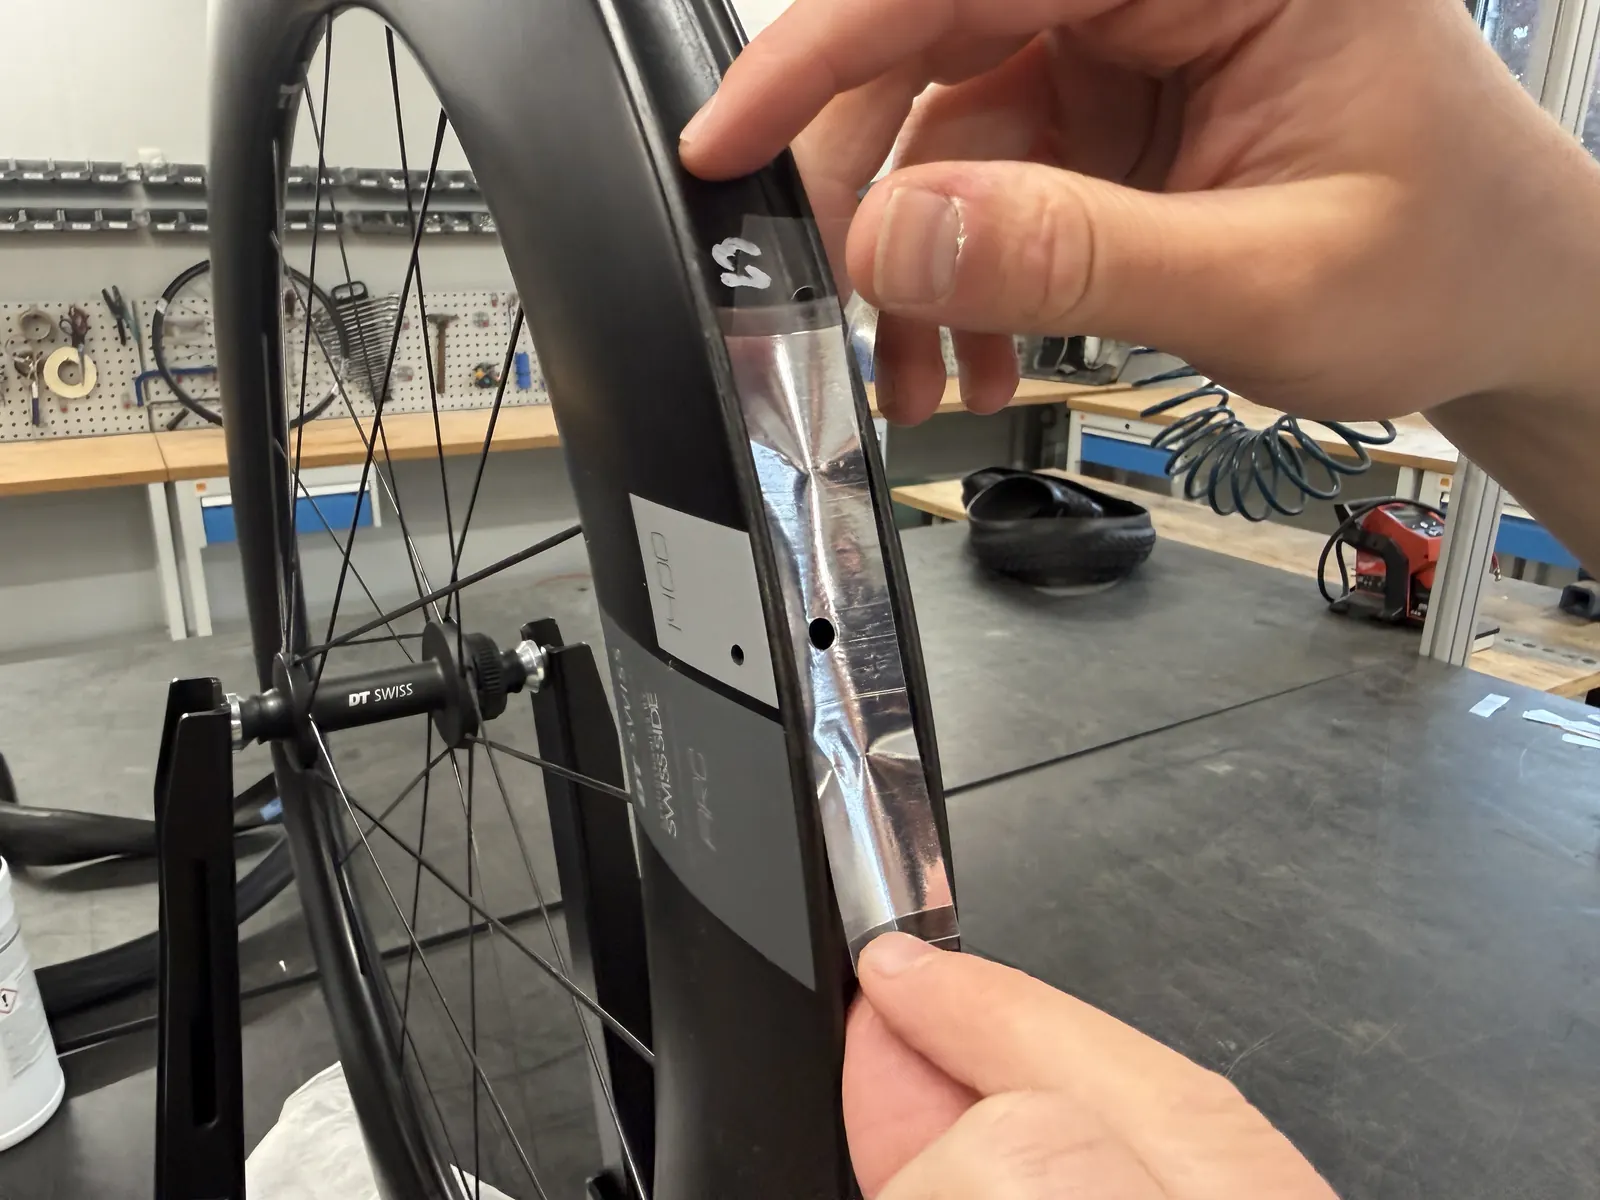
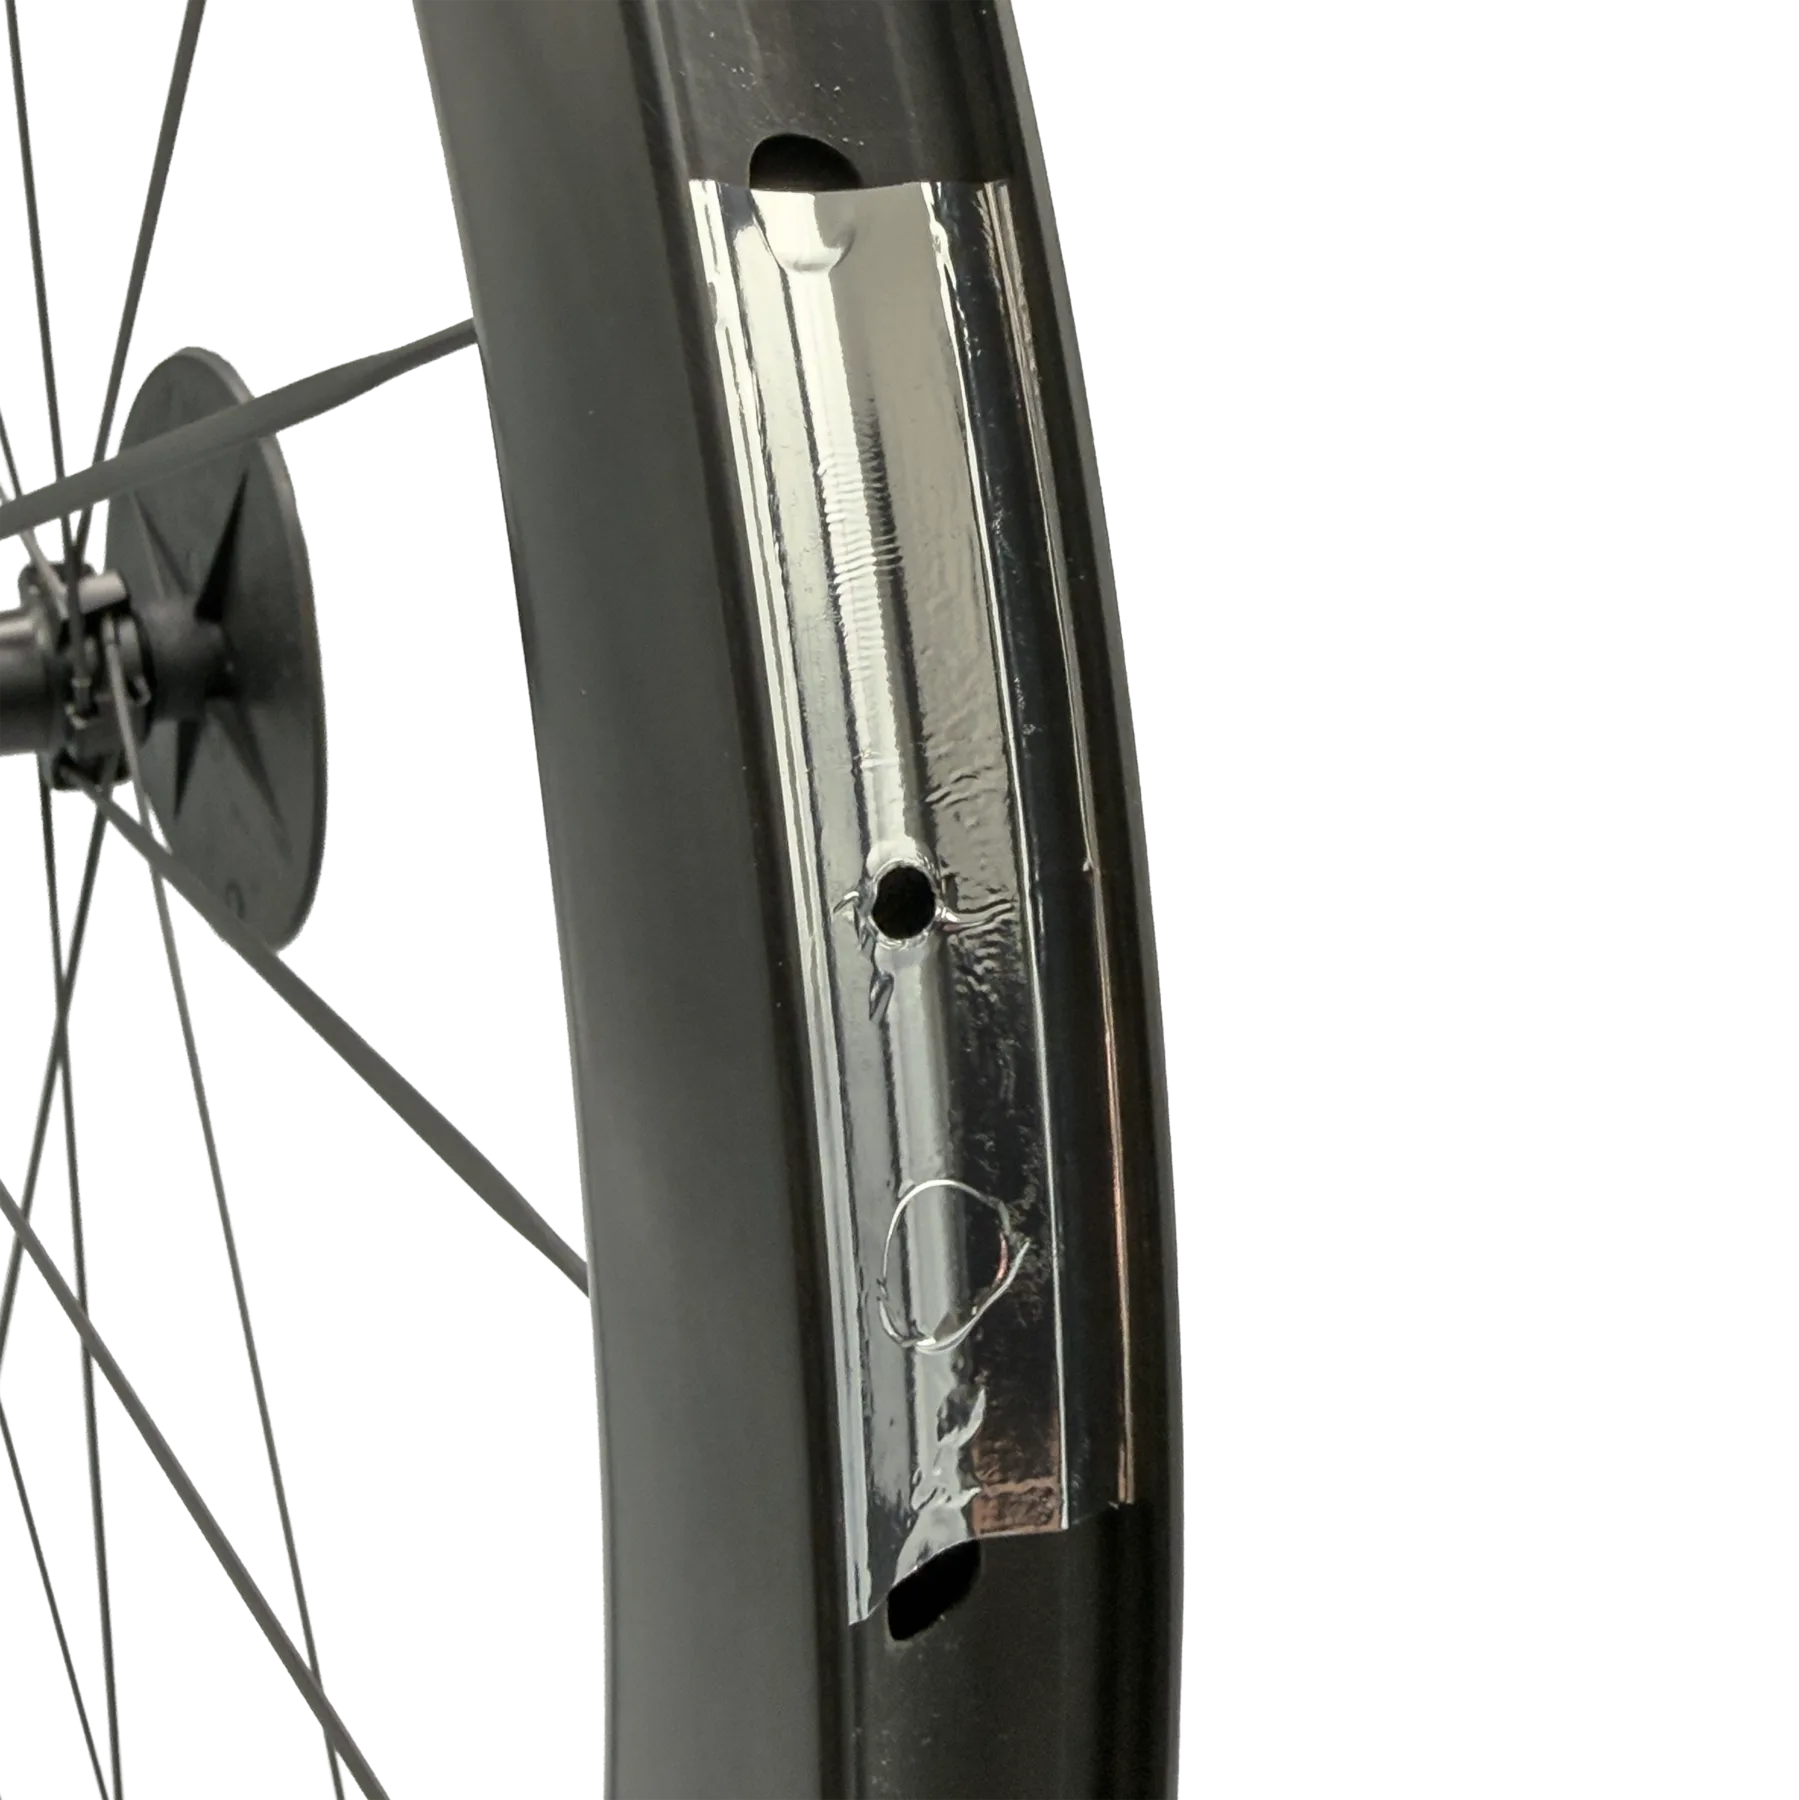
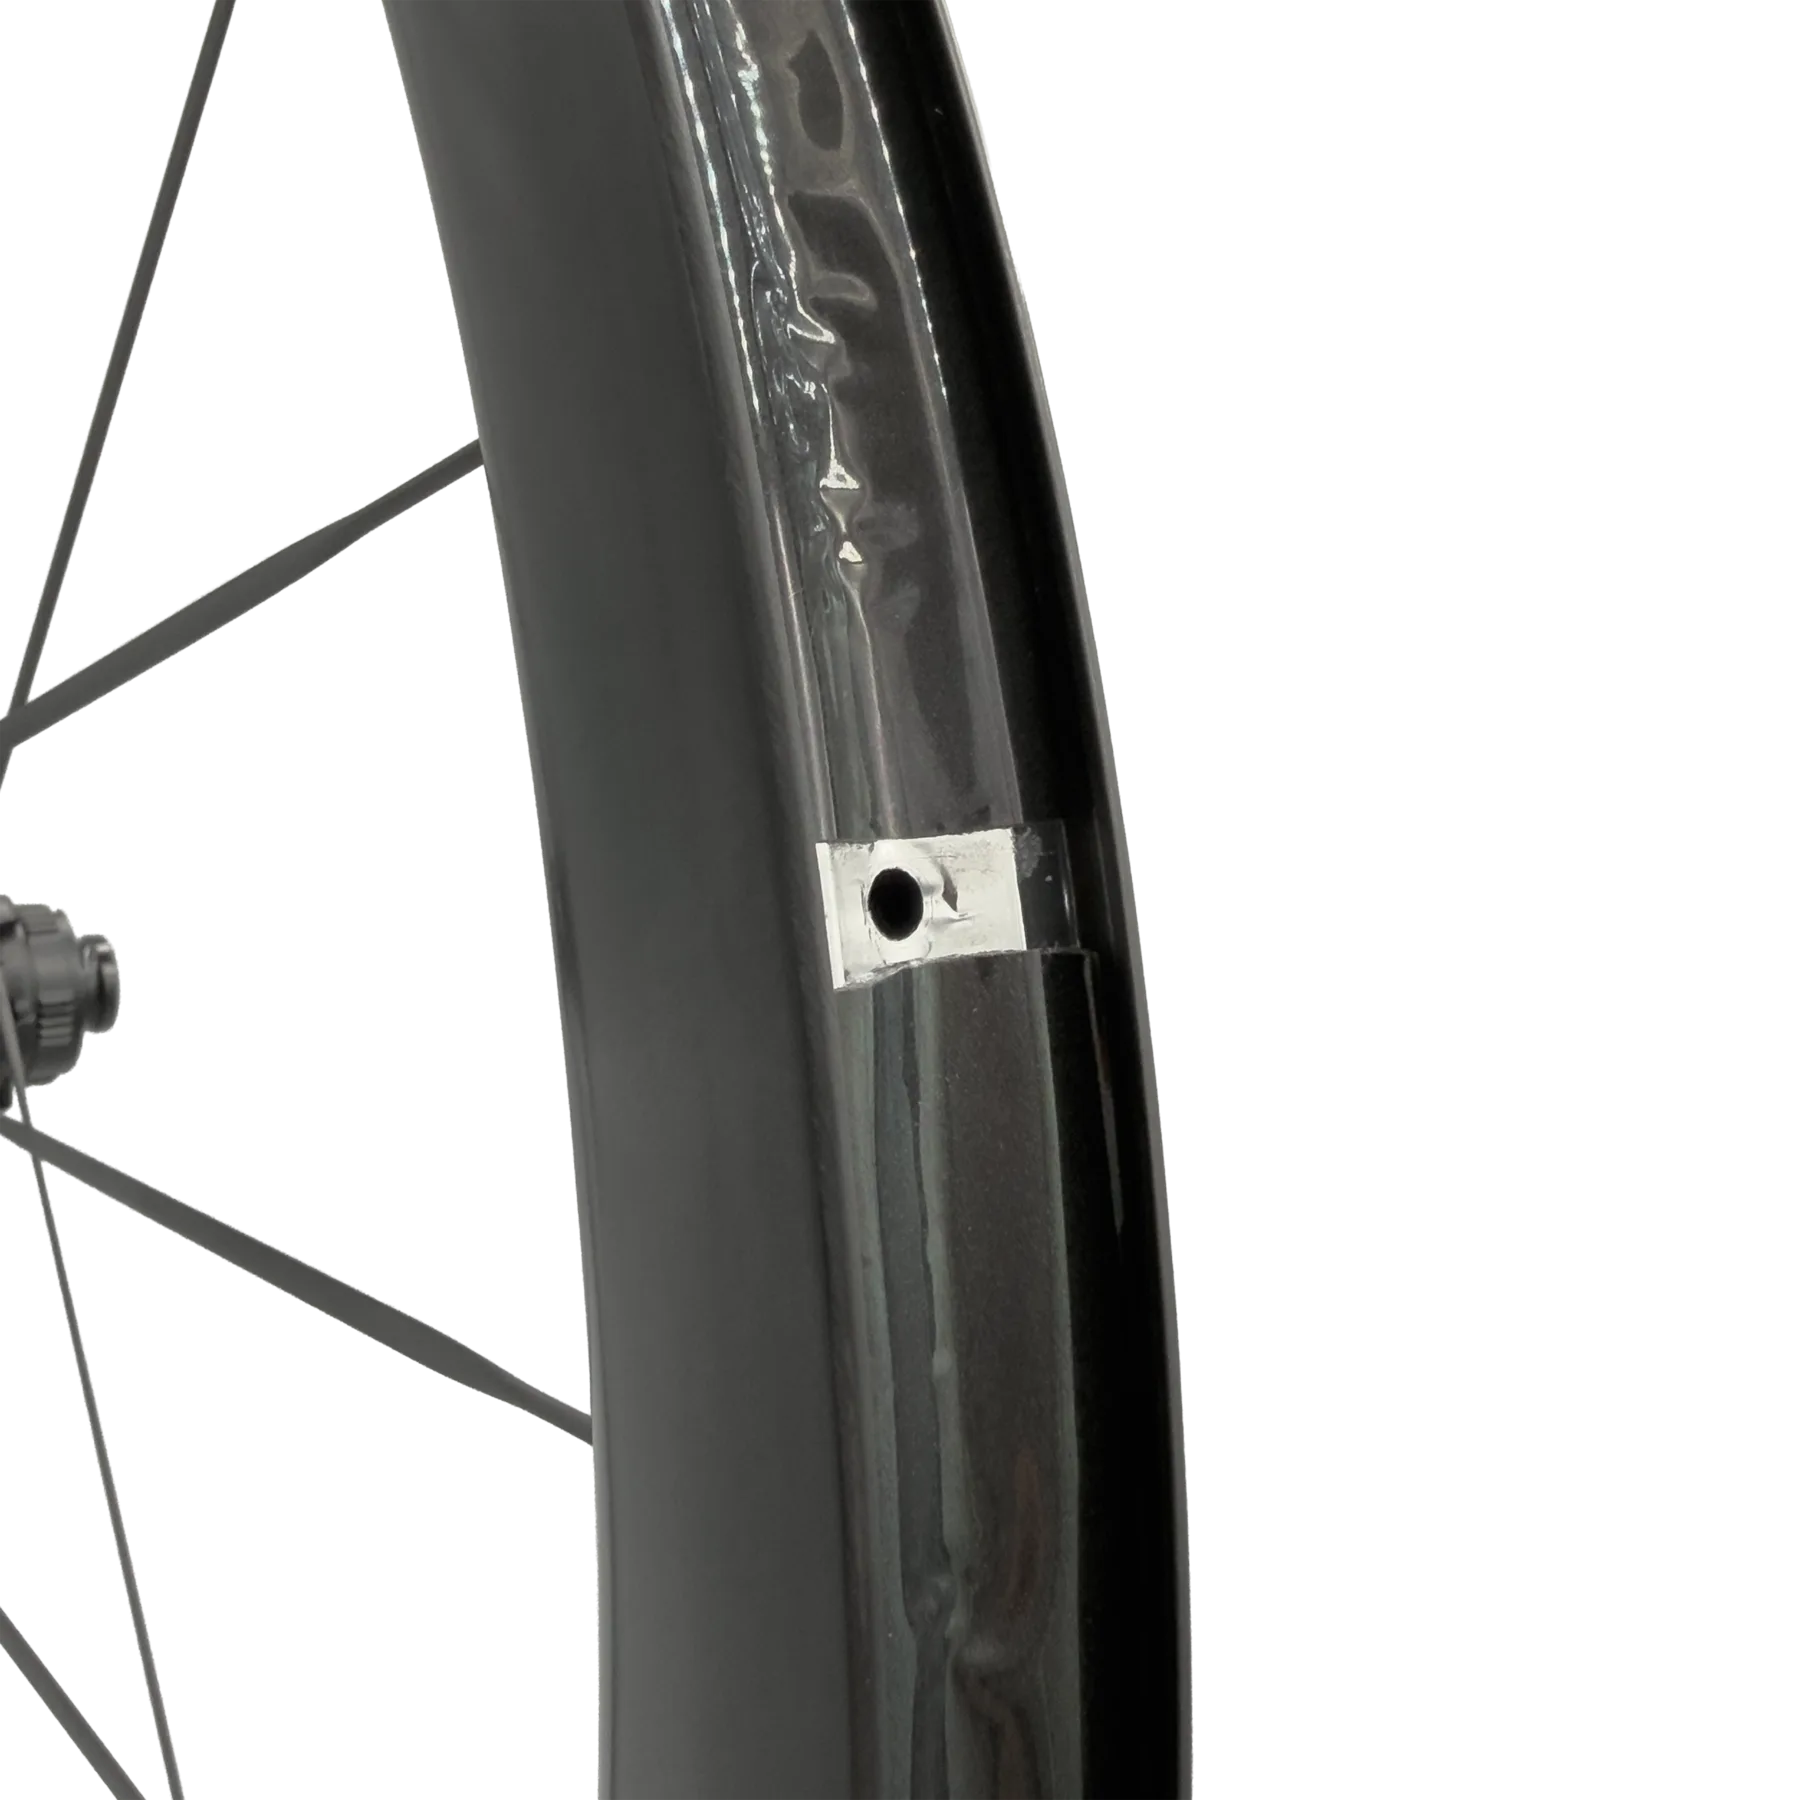
2 · Press on the alu pad

Place it exactly over the valve hole — the hole stays clear. Stroke it on bubble-free with the press tool.

3 · Remove the top film

Now the adhesive side is exposed — the base that holds both tape ends.

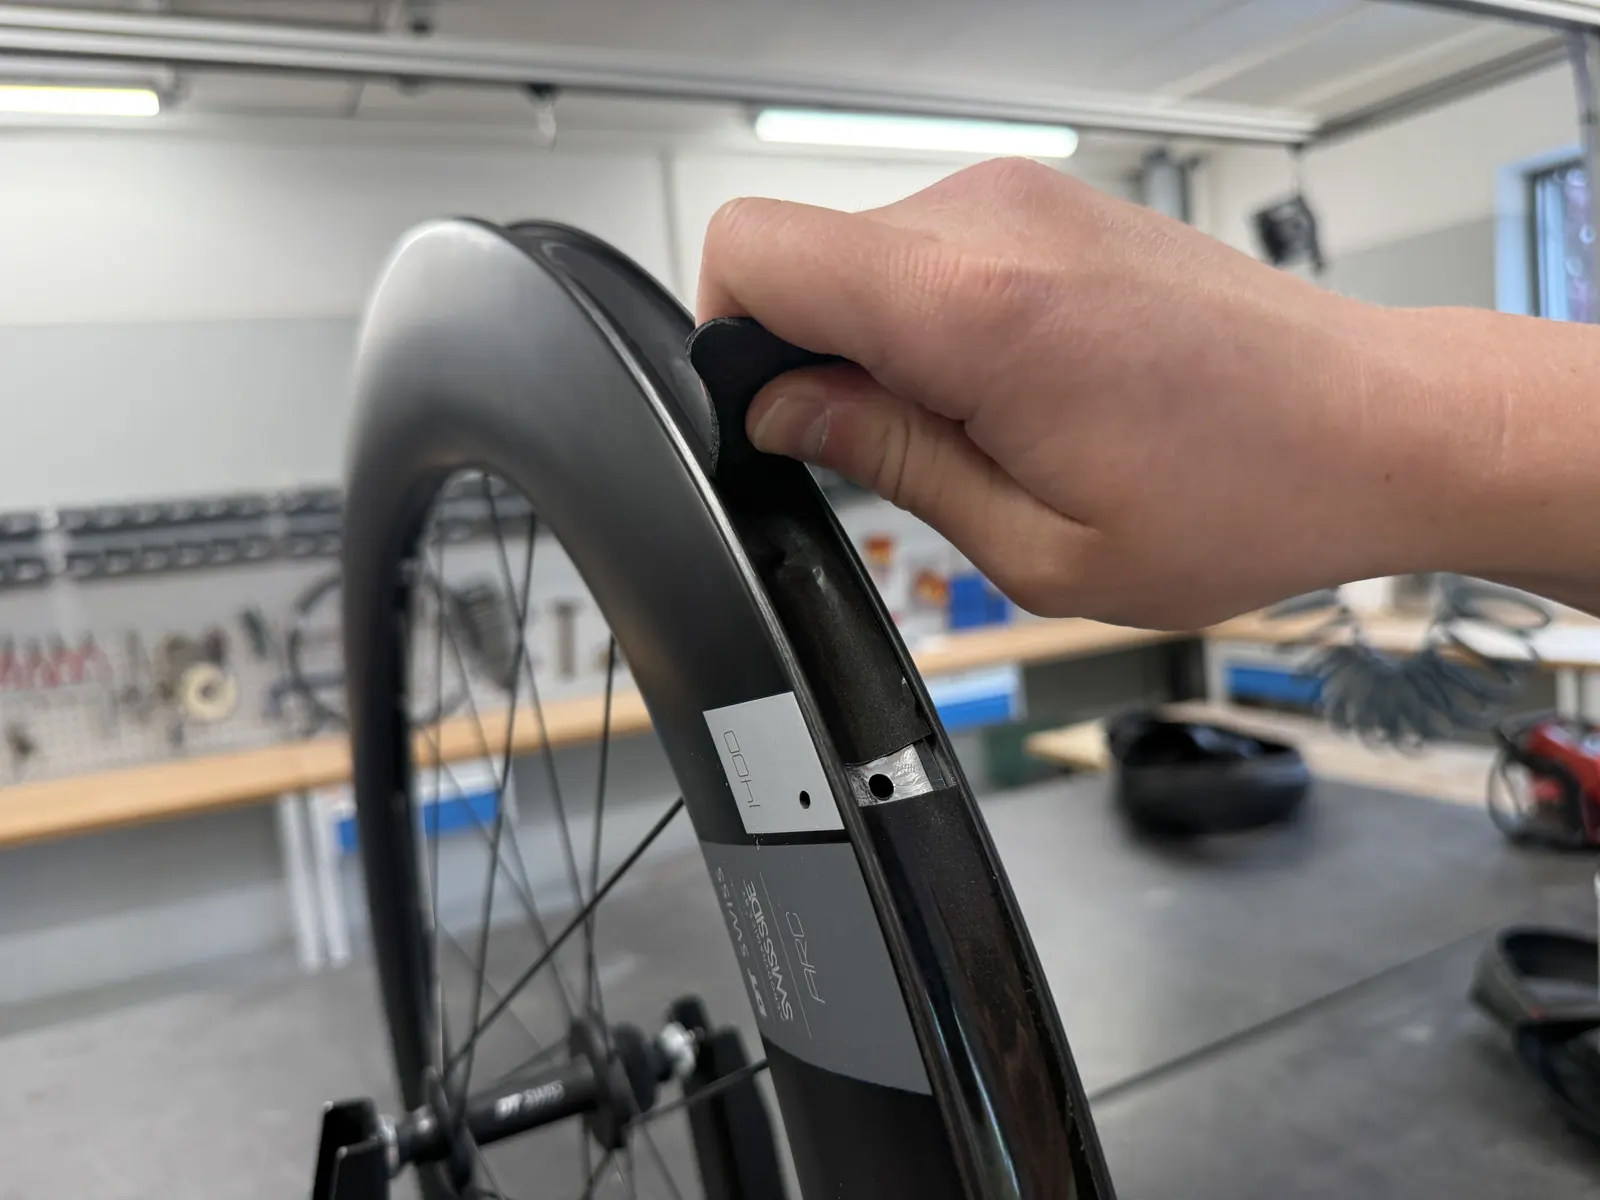
4 · Apply the rim tape

Start approx. 5 mm before the valve hole, pull it around the rim under tension, end just before it.

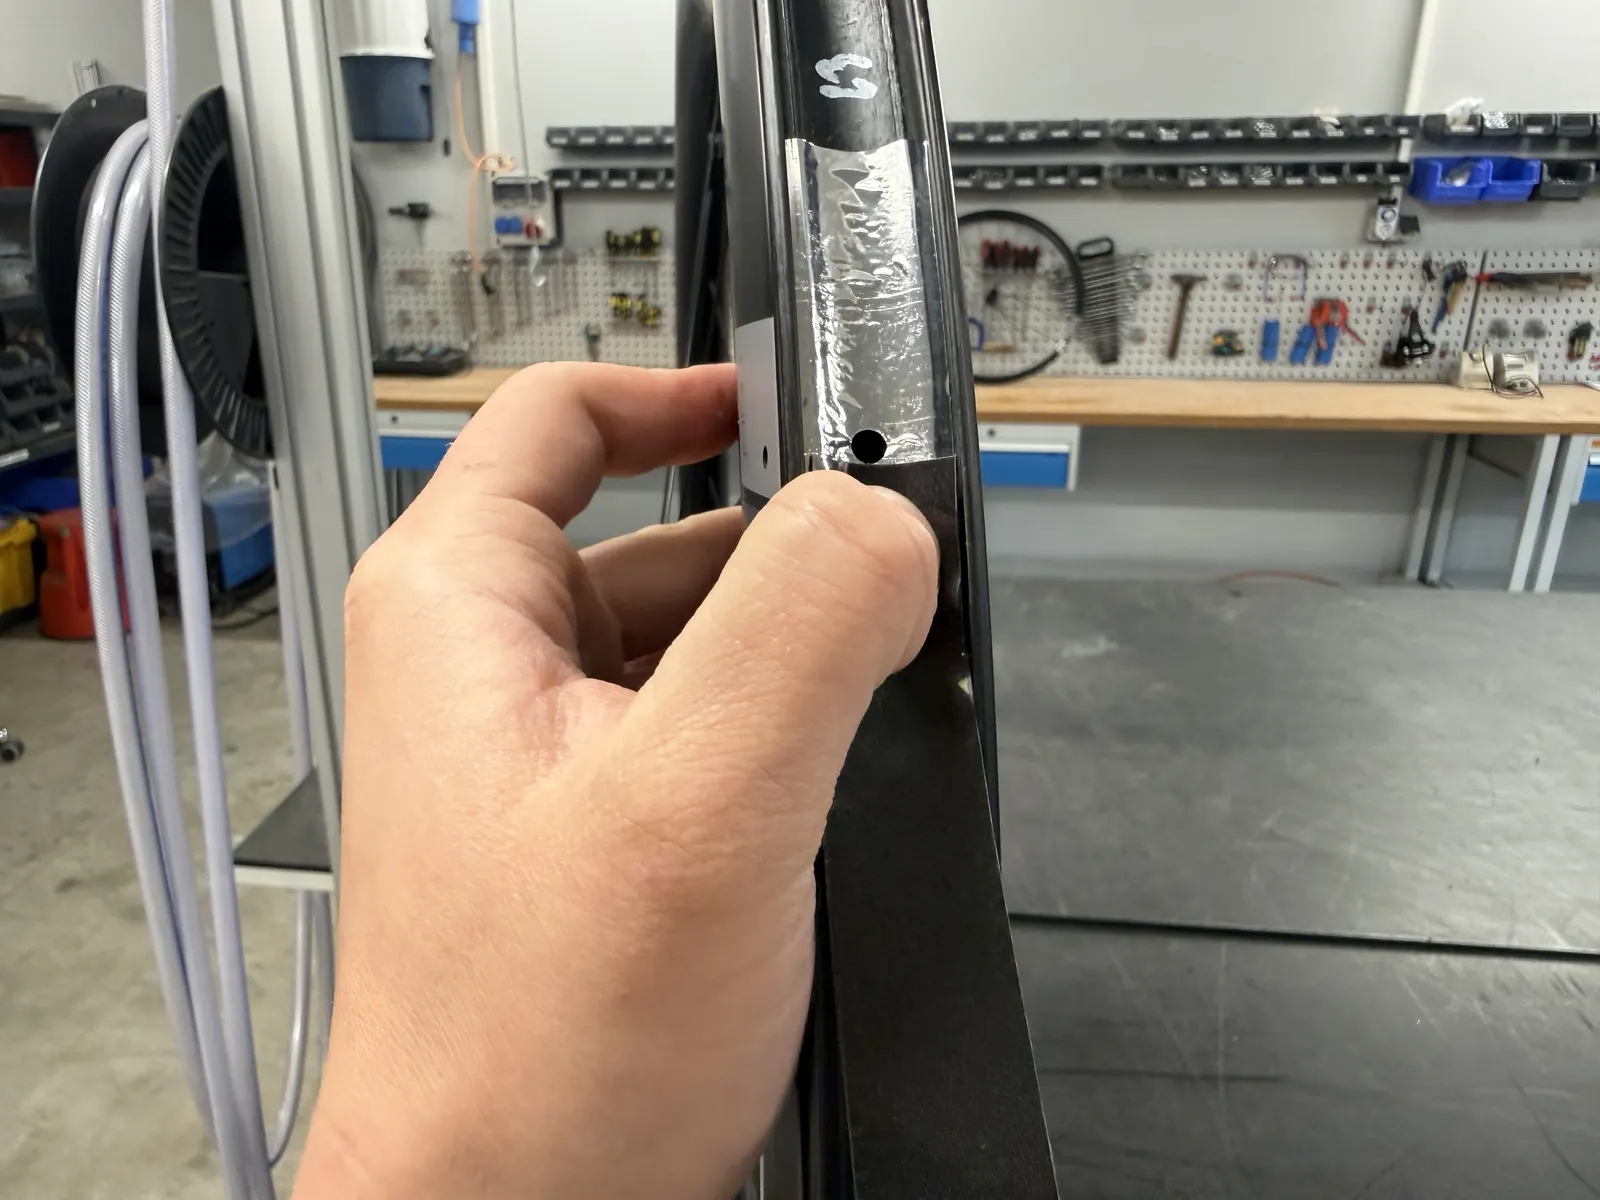
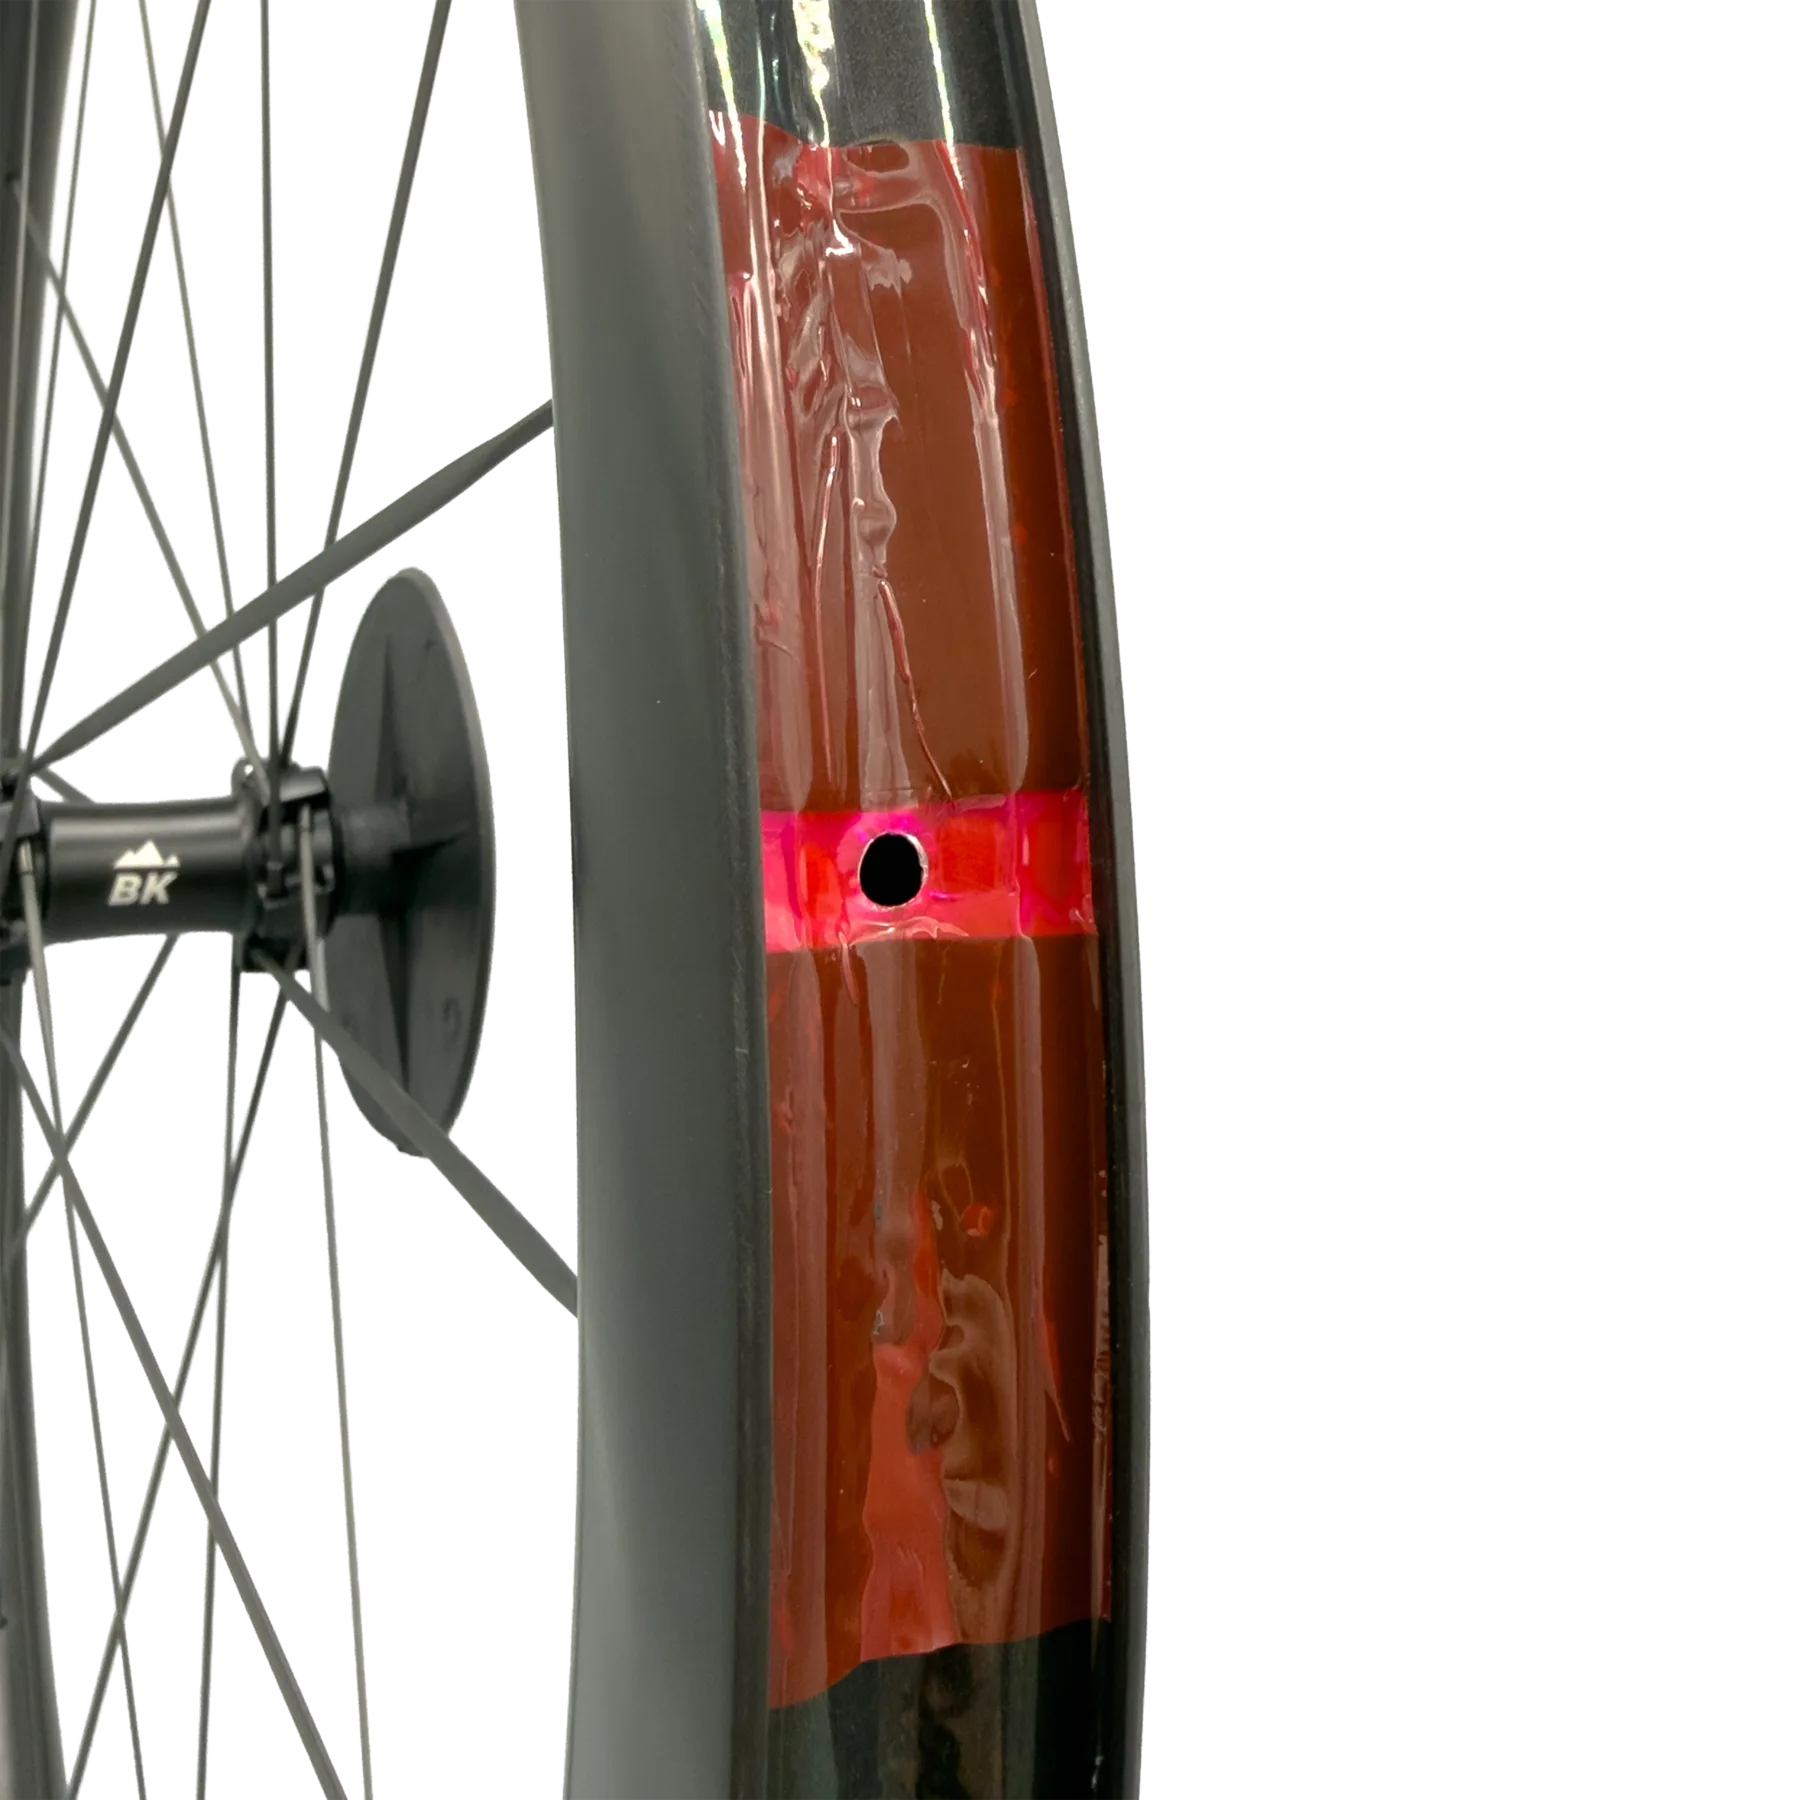
5 · Closing patch

Position it over the valve, remove the film, press it on bubble-free — the sandwich is complete.

Sealed. Milk-free.

No topping up, no dried-out sealant. A track pump is all it takes.

Installation

Clean installation. No improvisation.

GLUY works through preparation, tension and defined pressure. Check tape width, rim and tyre before applying adhesive parts.

Official guide

Installation

Seven steps. No guessing.

Find width

Technique

The 4-4-2 pressing technique

It applies to every adhesive surface. Always use the pressing tool; use your thumb only for pre-fixing the rim tape.

01

4× press down with the wide side in the centre of the rim bed

02

4× press with the edge against the rim shoulder

03

2× press with the edge against the rim sidewall

01

Preparation

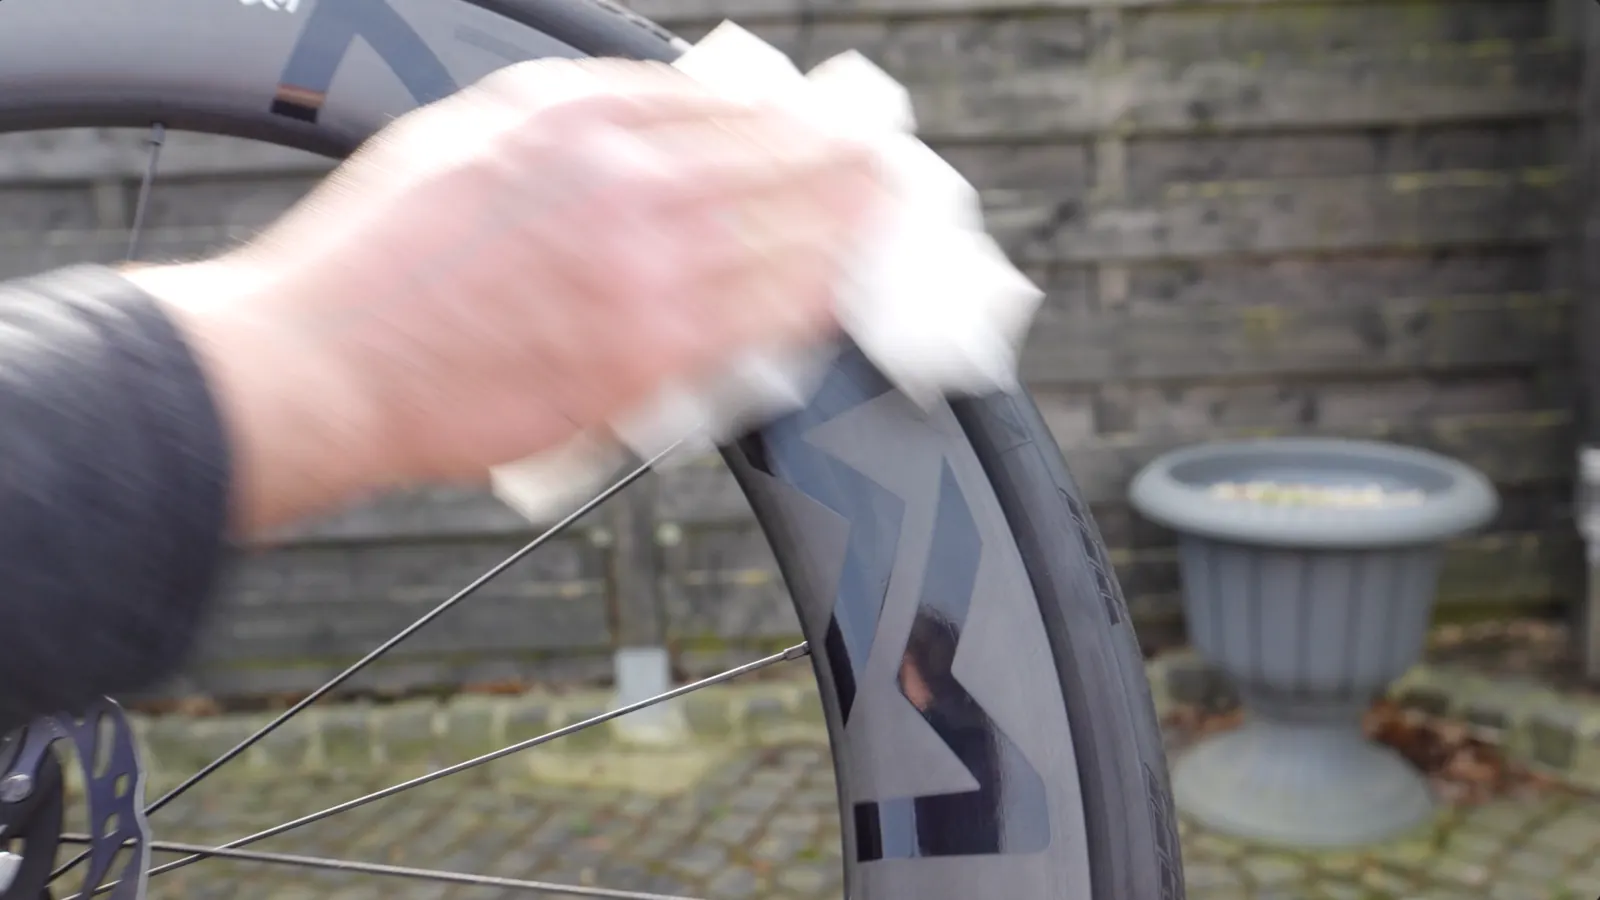
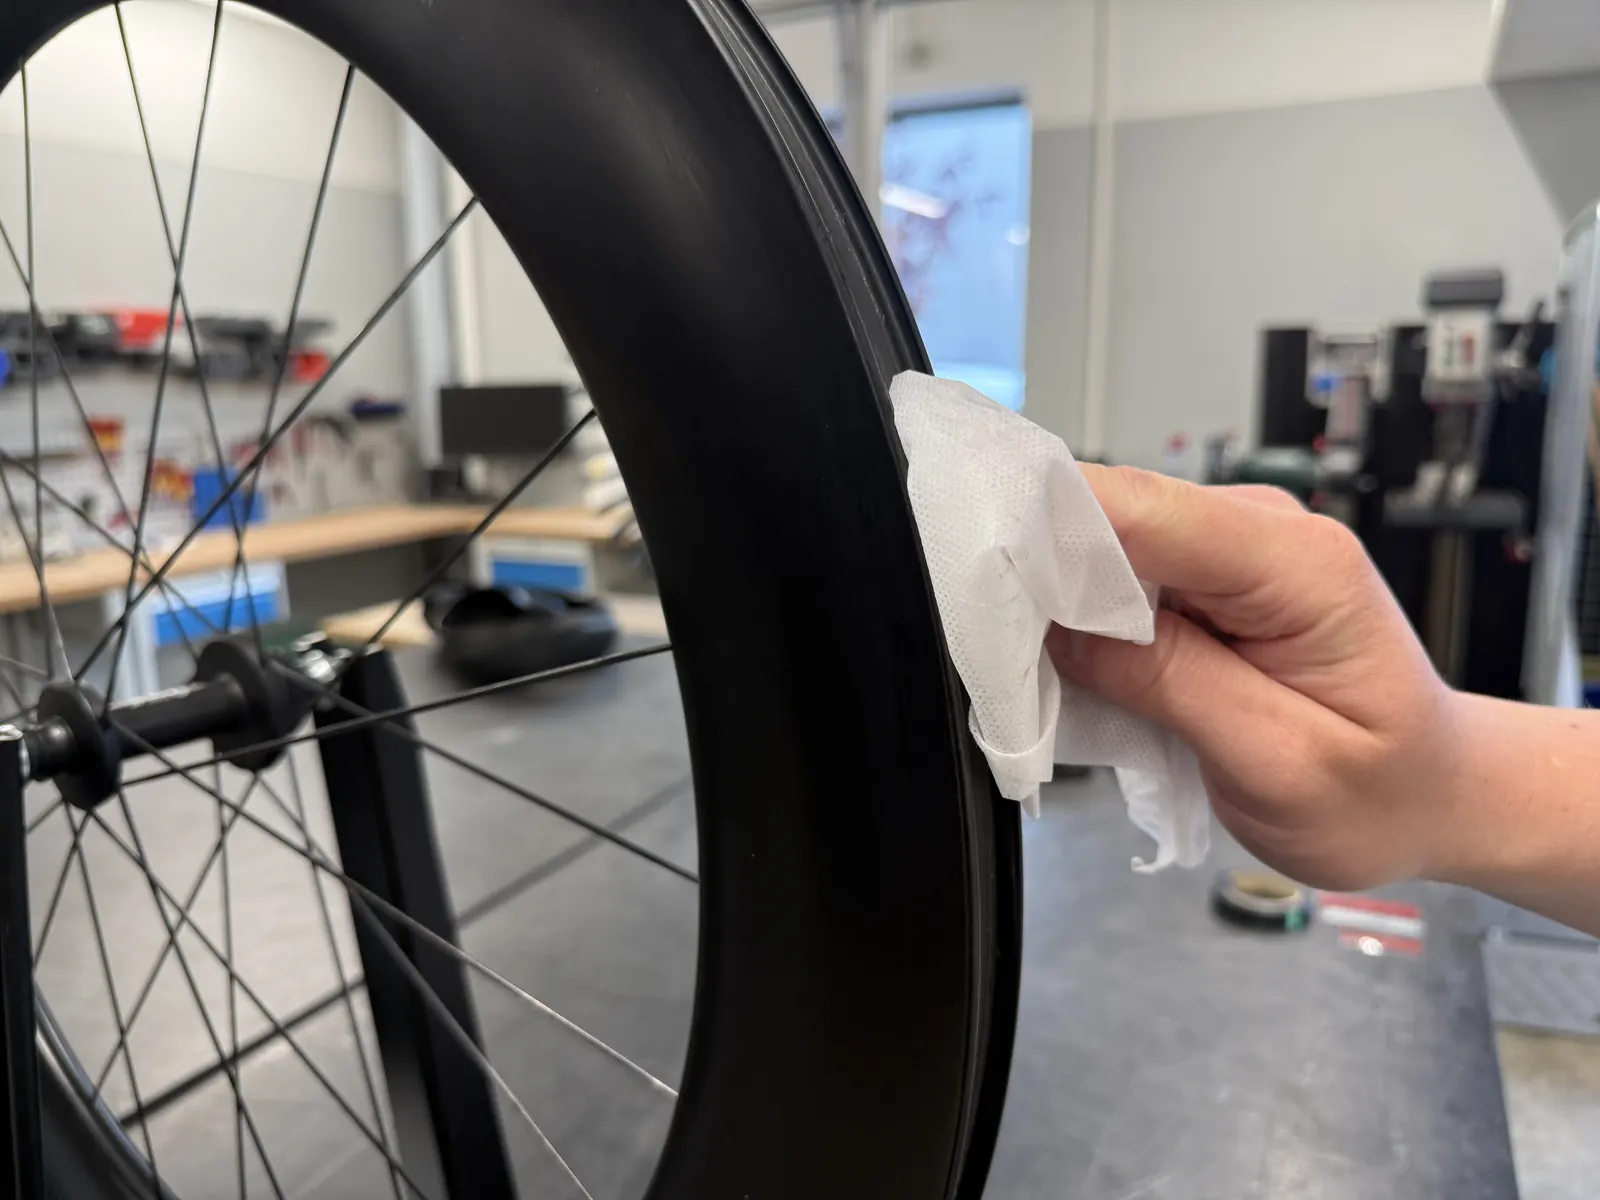
Rim being cleaned before GLUY installation
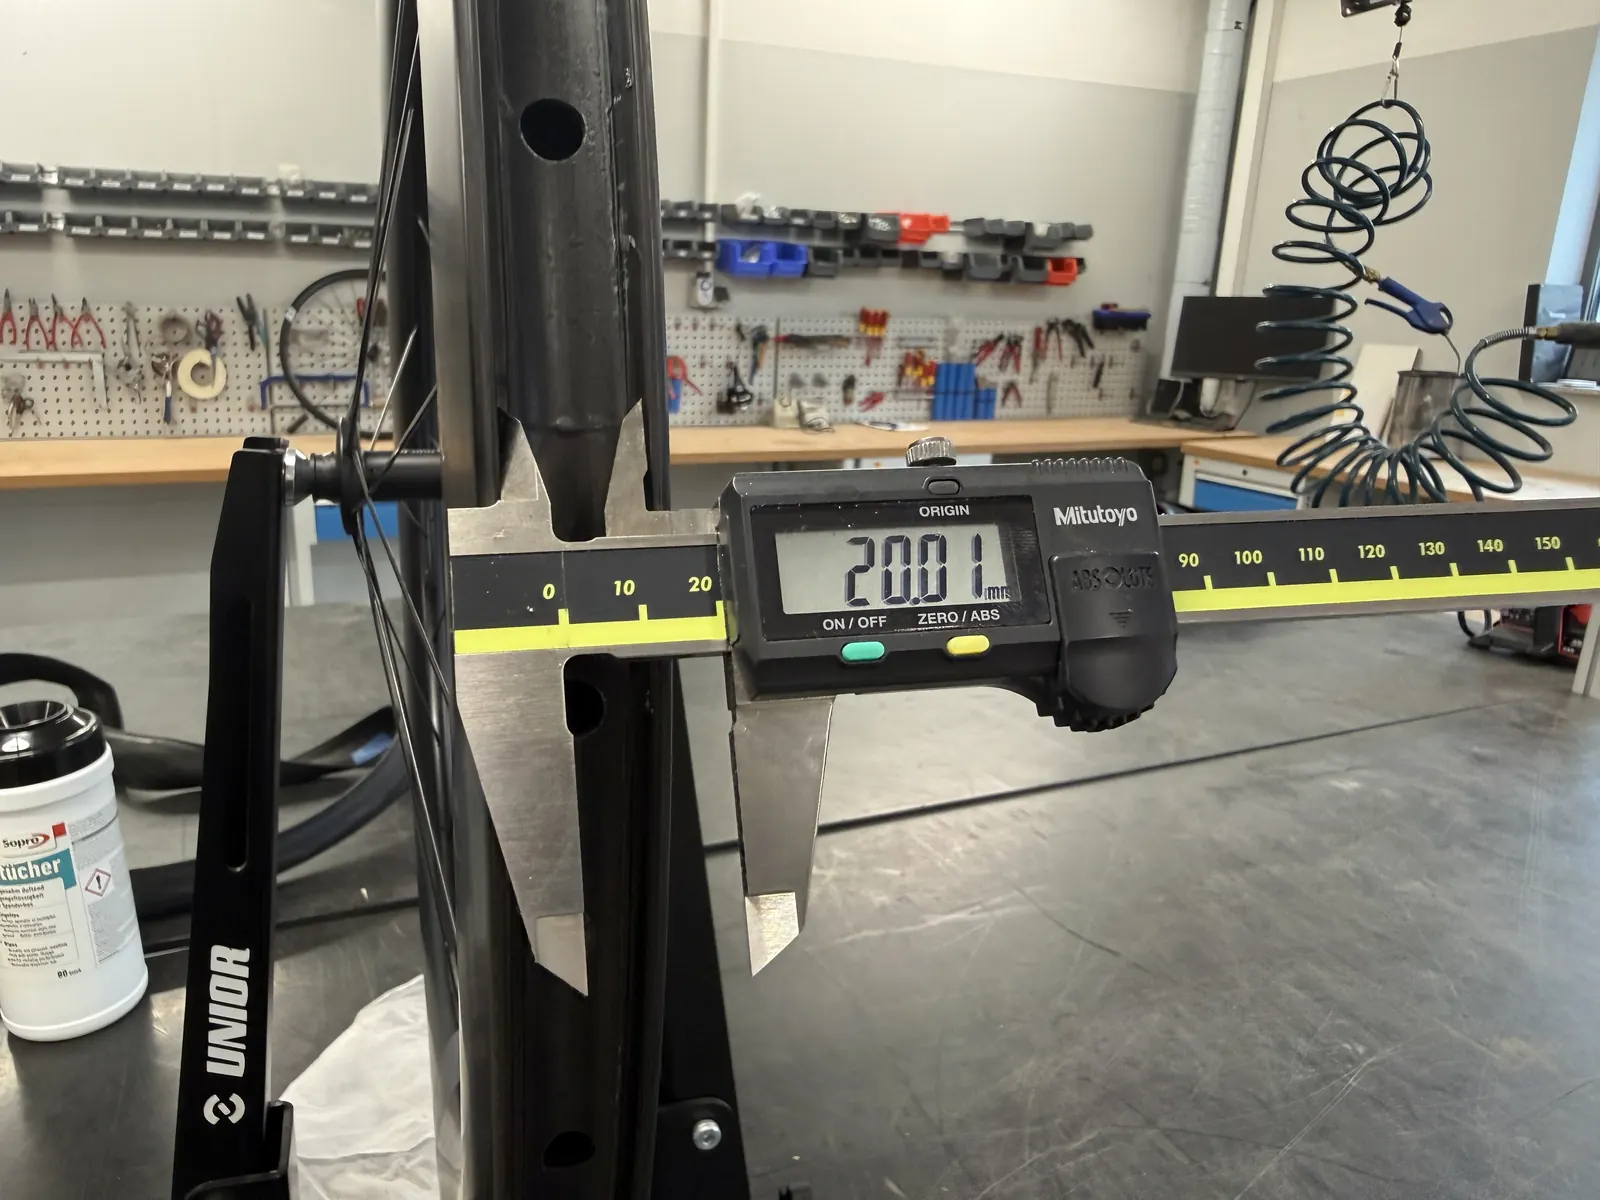
Inner rim width being checked with calipers

Check tape and rim fit, remove old tape and clean the rim without residue.

Before installation, check once more that tape and rim match using the calculator at gluy.de/size-guide. Remove the old rim tape without residue and let the cleaning agent evaporate completely.

02

Check the rim joint

Rim joint before placing the impact patch
Impact patch being placed from rim hook to rim hook over the rim joint
Impact patch being fixed over the rim joint with the press tool
Finished rim joint sealed with the impact patch

If the rim has a joint, seal it with the impact patch.

If the rim has a rim joint, apply the impact patch at a right angle to the direction of travel, from rim hook to rim hook, press it on bubble-free with the 4-4-2 technique and trim any overhanging impact-patch ends flush at the rim hook.

03

Apply the alu pad

Alu pad being prepared for the valve area
Alu pad being positioned over the valve hole
Alu pad being pressed bubble-free with the press tool
Alu pad seated in the prepared valve area

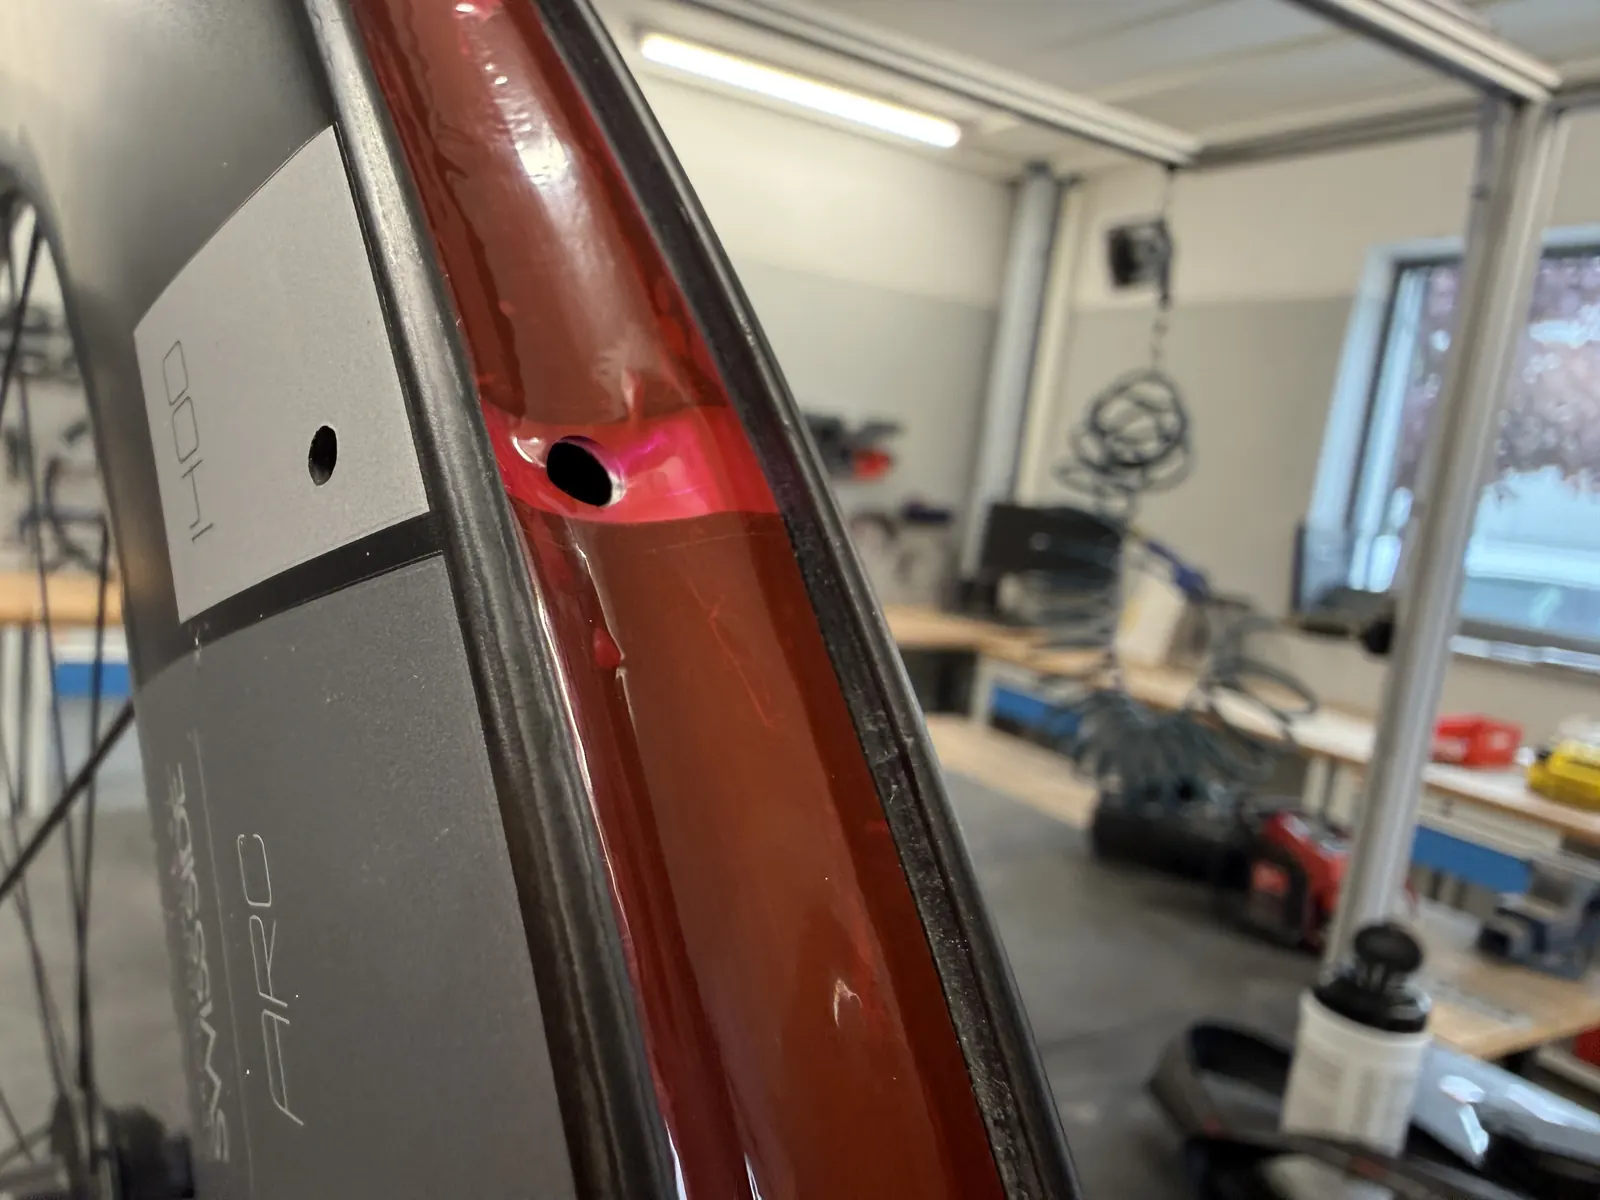
Place the alu pad exactly over the valve hole; the hole remains free.

Peel off the split cover film step by step, place the alu pad exactly over the valve hole, press it bubble-free and remove the upper cover film to create the open adhesive side.

04

Apply the rim tape

GLUY rim tape roll before application
Rim tape being started before the valve hole
Rim tape being guided into the rim bed under tension
Rim tape being compressed with the press tool

Start approx. 5 mm before the valve hole and pull the tape under tension into the centre of the rim bed.

Pre-fix the tape with your thumb while turning the rim, cut it approx. 5 mm before the valve hole on the other side, then press the full tape in one direction with the 4-4-2 technique. The tape must not stand up at the sidewall.

05

Closing patch

Red closing patch before placement
Closing patch being placed over the valve hole
Closing patch being fixed with the press tool
Finished valve area after the closing patch

Position the closing patch exactly over the valve hole.

Remove the split cover film and press the closing patch bubble-free with the 4-4-2 technique, paying special attention to the transition from rim tape to alu pad.

06

Fit valve and tyre

Valve being guided through the valve hole from the outside
Installed valve seated in the closed GLUY build

Fit the valve without twisting and mount the tyre without sharp-edged tyre levers.

Guide the valve from the outside through the valve hole, tighten it inside with O-ring and lock nut, then mount the tyre carefully and inflate within the pressure limits of tyre, rim and GLUY rim tape.

07

Leak test

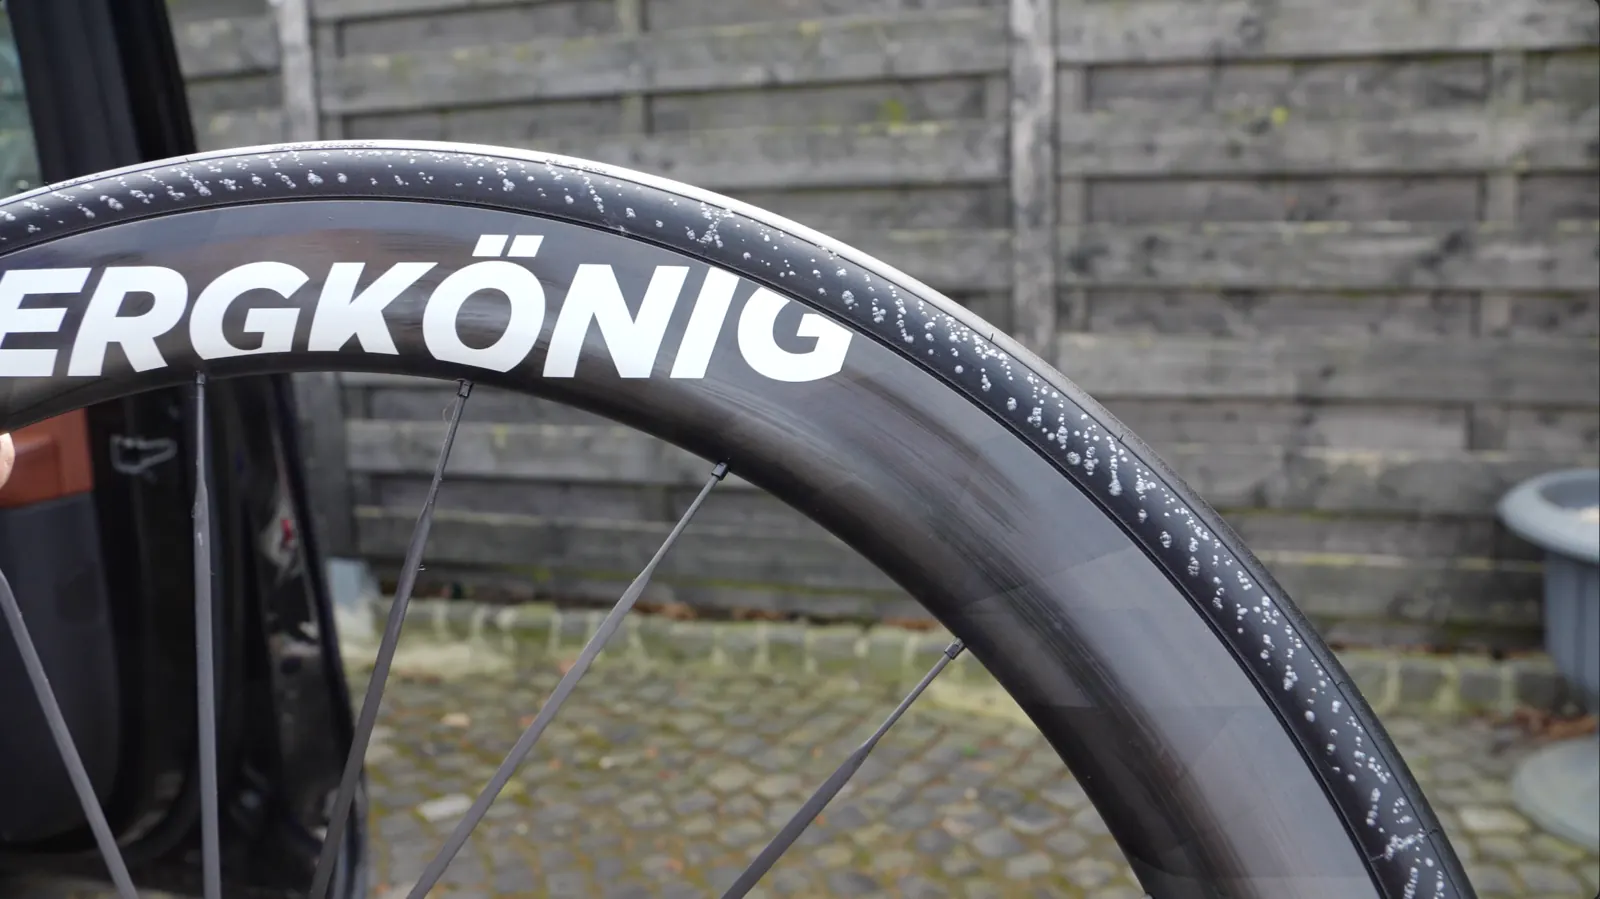
Rim being wetted for the leak test
Tyre sidewall being checked during the leak test
Water test checking for escaping air

Check tyre bead, valve area and sidewall with moisture or the water test.

If no bubbles emerge and pressure stays stable for several hours, the wheel can be ridden without sealant. If bubbles emerge or pressure drops unusually quickly, do not ride without sealant; check installation, valve and tape, use a sealed tyre or add suitable tubeless sealant.

Checklist before the first ride

Before you set off, check these six points:

  • Rim tape wrinkle-free, completely in the rim bed, not standing up at the rim sidewall
  • Alu pad and closing patch firm, bubble-free, transitions pressed on cleanly
  • Impact patch sits firmly if there is a rim joint; overhanging ends are trimmed flush
  • Valve sits straight and the lock nut is tight
  • Tyre bead sits cleanly in the rim shoulder all the way around
  • Leak test passed, pressure stable

Help with pressure loss and leaks

  • Bubbles at the valve usually come from a leaking closing patch or loose lock nut.
  • Bubbles at the rim joint indicate that the impact patch is missing or leaking.
  • Air across the tread or sidewall is almost always in the tyre, not the tape.
  • If the tyre jams or will not snap into the rim shoulder, the tape is standing up along the rim sidewall.

Maintenance and inspection

  • Before every ride: check tyre pressure.
  • When changing the tyre: lift it carefully over the rim tape without sharp-edged tyre levers.
  • Occasionally check the valve lock nut for a firm fit.
  • Before every season and after a hard impact or fall: remove the tyre and check the rim tape.

Once around. Fully laid.

The rim tape under tension — no overlap, no wrinkles.

1 · Starting point

Approx. 5 mm before the valve hole, on the adhesive face of the alu pad — the hole stays clear.

2 · Once around under tension

Pull the tape into the centre of the rim bed, turn the rim, pre-fix it with your thumb. No overlap.

3 · Cutting

On the other side approx. 5 mm before the valve hole — both ends sit on the alu pad, the hole stays clear.

4 · Press on bubble-free

With the press tool in one direction over the full tape: 4× bed, 4× shoulder, 2× sidewall.

Seated. For good.

Both ends firmly on the alu pad — ready for the closing patch.

Installation pictures

The controlled build looks like this.

The critical points are valve area, rim bed and closing patch before pressure comes onto the system.

GLUY alu pad placed around the valve hole

Valve area

Place the alu pad first

The alu pad seals the area around the valve hole before the rim tape is applied. The valve hole stays fully free.

GLUY rim tape applied in the rim bed

Rim bed

Guide the tape under tension

The rim tape is pulled into the centre of the rim bed, pre-fixed with the thumb, then pressed bubble-free in one direction.

Red GLUY closing patch over the valve area

Closure

Seal the sandwich system

The red closing patch sits exactly over the valve hole and creates the clean transition from rim tape to alu pad.

Before applying

Check first. Then install.

The installation is clean when the decision before it is clean: correct width, clean rim and a realistic tyre leak test.

Width

Check tape and rim fit

Before installation, check once more that tape and rim match using the calculator at gluy.de/size-guide.

Find width

Tyre

The tyre remains decisive

Whether a system is sealed without sealant depends, in addition to the correctly installed GLUY rim tape, on the tightness of the tyre.

Tool

Use the press tool

Always use the pressing tool. It eliminates cavities on every adhesive surface.

Avoid errors

If something does not fit, do not continue.

Most failures start when a visible problem is ignored before pressure comes onto the system.

Avoid errors 1

Do not wrap GLUY around the rim with overlap.

Do not wrap GLUY around the rim with overlap.

Avoid errors 2

Do not pierce or cut the fitted tape at the valve hole.

Do not pierce or cut the fitted tape at the valve hole.

Avoid errors 3

Do not install without the pressing tool.

Do not install without the pressing tool.

Avoid errors 4

Do not use sharp-edged tyre levers over the rim tape.

Do not use sharp-edged tyre levers over the rim tape.

Avoid errors 5

If the pressure drops unusually quickly, do not ride until the cause has been clarified.

If the pressure drops unusually quickly, do not ride until the cause has been clarified.

Support

Unsure? Ask before applying adhesive parts.

If width, tyre or valve sealing is unclear, contact us before installation. After pressure comes onto the system, corrections become harder.